

How to Mix Skin Tones with Acrylics
Skin tones are notoriously tricky to mix, and it's one of the main things that trips up portrait beginners. The good news: once you understand a few principles, it becomes a lot more manageable. This isn't about memorizing recipes. It's about understanding how skin color actually works so you can mix any tone you see.
First, Forget "Flesh" Color
There's no such thing as a single skin tone. Human skin varies enormously from person to person and even shifts across the face and body. The forehead is often slightly different from the cheeks. Shadows are cooler. Highlights are warmer. Skin is complex, and that's what makes painting it interesting.
The starting point for all skin tone mixing is this core combination:
- A red or reddish-orange (cadmium red, vermillion, or burnt sienna)
- A yellow or ochre (yellow ochre, raw sienna, or Naples yellow)
- A small amount of white
- A touch of complementary color to neutralize (green, blue, or violet, depending on what you're mixing)
The Basic Skin Tone Mixing Chart
| Skin Type | Base Mix | Adjustments |
|---|---|---|
| Light / Fair | White + small amount of yellow ochre + tiny red | Add more white; use cooler tones in shadows |
| Medium / Tan | Yellow ochre + raw sienna + white + small red | Less white; add burnt sienna for more depth |
| Olive / South Asian | Raw sienna + yellow ochre + a touch of green | Slight green or blue desaturates the warm red |
| Warm Brown | Burnt sienna + yellow ochre + touch of red | Use white sparingly; shadows go deeper with burnt umber |
| Deep Brown / Dark | Burnt umber + raw sienna + small amount of red | Highlights use gold or warm yellows, not just white |
Understanding Warm and Cool in Skin
Skin isn't one flat color. Different areas have different color temperatures:
- Warm areas (reds and oranges): The cheeks, nose, ears, forehead, and lips tend to have more blood close to the surface, which makes them warmer and redder.
- Cool areas (blues and greens): Shadows, the area under the chin, around the eyes, and the temples often look slightly cooler, especially on lighter skin. This comes from veins and from light bouncing from the environment.
- Neutral areas: The main planes of the face, the jaw, and the neck tend toward more neutral mid-tones.

Building in Layers
One of the big advantages of acrylics for portrait painting is that you can build up layers. Here's a simple approach:
- Block in the mid-tone base. This is your main skin color without lights or shadows. Keep it flat for now.
- Add shadows. Mix your base with a cooler, darker color (burnt umber and a touch of blue works well). Don't just use black. It looks dead and unnatural.
- Add highlights. Mix your base with white and a touch of yellow. Apply to the highest points: nose tip, cheekbones, forehead center, upper lip.
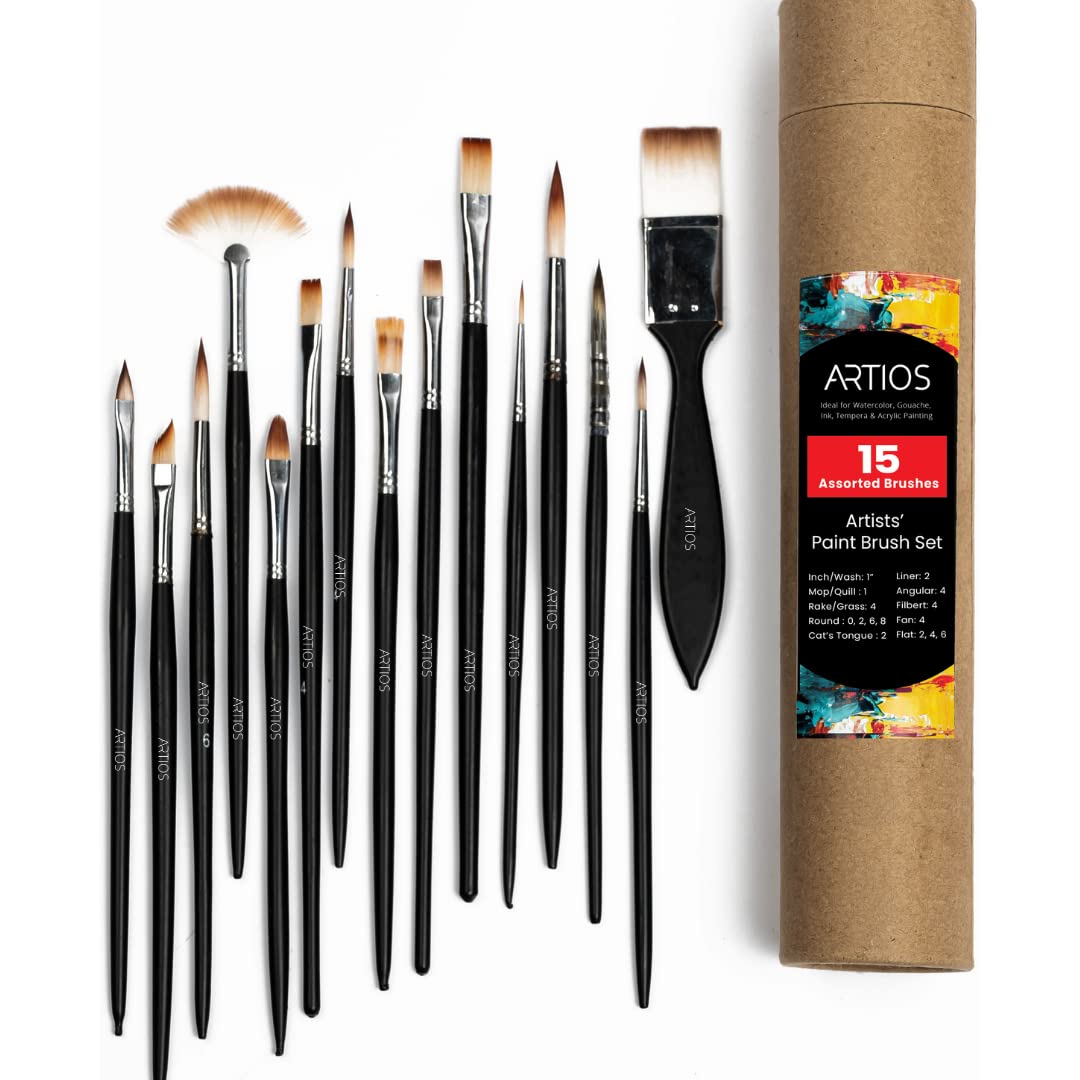
- Blend edges. While still wet, soften the transitions between light and shadow with a clean, slightly damp filbert brush.
- Add warm accents. A touch of red or orange on the cheeks, lips, nose, and ears brings life to the face.
Common Mistakes to Avoid
| Mistake | What It Looks Like | Fix |
|---|---|---|
| Using black for shadows | Muddy, dead-looking shadows | Mix shadow color from burnt umber and blue instead |
| Using white for highlights | Chalky, washed-out look | Add warmth (yellow, ochre) to your highlight mix |
| One flat skin tone | Plastic, cartoon-like skin | Vary temperature across the face |
| Too much white overall | Pale and desaturated | Start with less white, add gradually |
Practice with What You Have
You don't need to buy a dozen specialty colors to paint skin. With a basic palette of red, yellow, white, raw/burnt sienna, and a touch of blue, you can mix a huge range of skin tones. The skill is in the mixing and observation, not in having fancy colors.

If you're just getting started with acrylics, have a look at our acrylic paints collection and the full beginner guide: Complete Guide to Acrylic Painting for Beginners.