

How to Paint a Simple Landscape Step by Step
Landscapes are one of the best subjects to start with as a beginner painter. They're forgiving (there's no "wrong" tree shape), they let you practice a range of techniques, and there's something deeply satisfying about making a recognizable scene from nothing. Here's a step-by-step approach for painting a simple landscape with acrylics.
What You'll Need
- Canvas board or canvas (any size works, but something like 8x10 or 10x12 is comfortable for a first landscape)
- Acrylic paints: at minimum, blue, yellow, white, green (or mix green from yellow and blue), a warm brown or sienna, and black
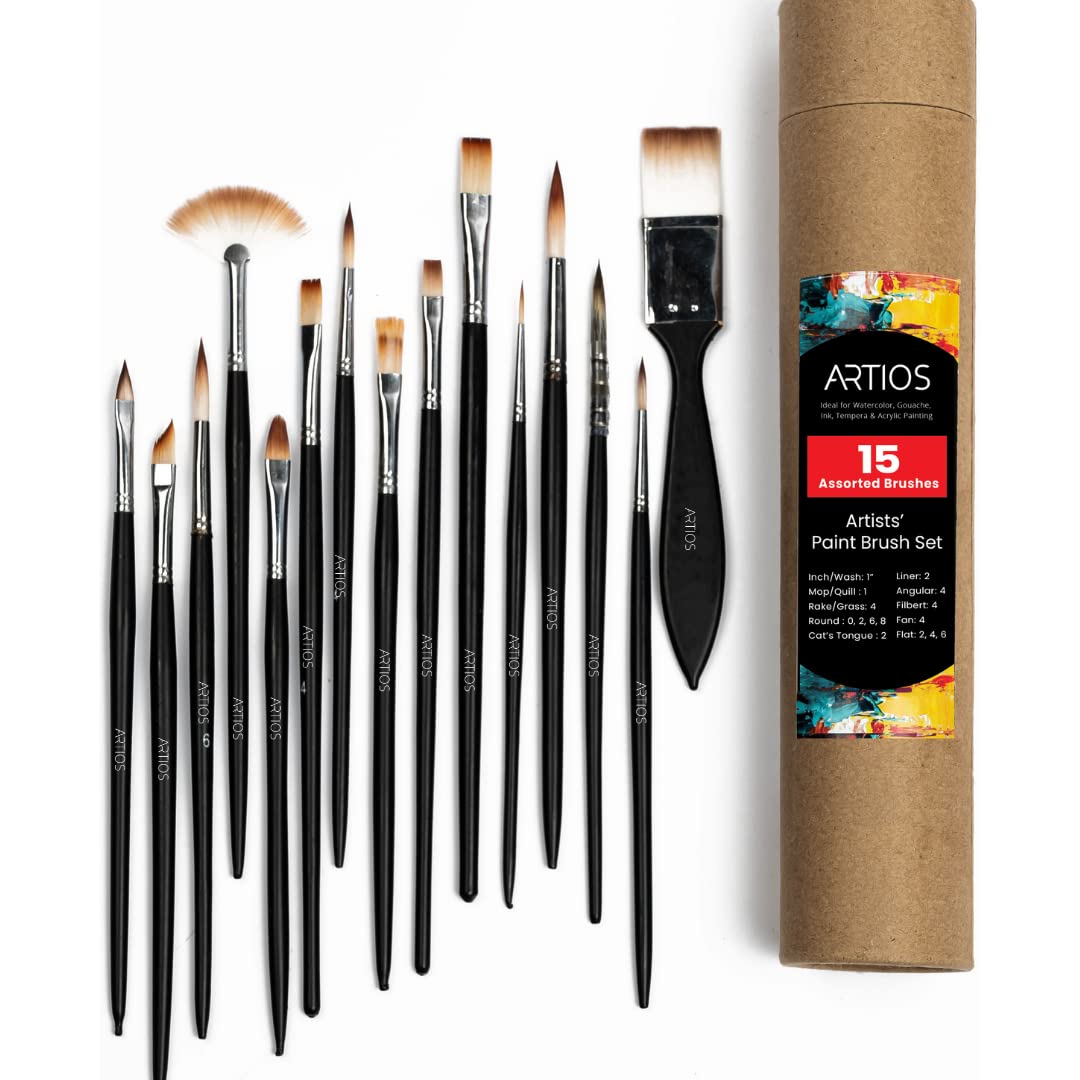
- Brushes: a large flat brush for backgrounds, a medium round brush for mid-ground detail, and a small round or detail brush for foreground elements
- A palette for mixing
- Water and a cloth for cleaning brushes

Step 1: Plan Your Composition
Before you touch paint, spend two minutes thinking about your composition. A simple landscape usually has three zones:
- Sky (top third to half of the canvas)
- Mid-ground (trees, hills, fields, buildings)
- Foreground (grass, path, water, rocks)
A simple rule: put the horizon line either in the top third (if you want to emphasize the land) or the bottom third (if the sky is the star). Avoid putting it dead center as this can make the composition feel static.
You can sketch this lightly with a pencil directly on the canvas before painting. Acrylics will cover it completely.
Step 2: Block in the Sky
Start with the sky because it sets the mood for everything else. Use your large flat brush and work wet-on-wet (apply paint while the previous section is still wet) for soft gradients.
For a simple blue sky:
- Mix a mid blue (ultramarine or cerulean and a touch of white)
- Apply at the top of the sky area
- Gradually add more white as you work toward the horizon
- Blend the transition while both sections are still wet
For a golden hour sky, work with yellows and oranges near the horizon, transitioning to deeper blue at the top. Add a little pink or lavender in the transition area.
Step 3: Paint the Background (Distant Elements)
The key principle in landscape painting is atmospheric perspective: objects in the distance are lighter, less detailed, and cooler in color than objects in the foreground. This is how our eyes actually see the world, and applying it makes your landscape instantly more convincing.
For distant hills or mountains:
- Mix a cool, muted green (add a tiny amount of blue and white to your green)
- Apply loosely with a large brush, no detail needed
- Keep the edges soft where hills meet the sky by blending while wet

Step 4: Add the Mid-Ground
Now you can add more color and slightly more detail. Trees, fields, a cluster of buildings, whatever your scene includes. Use a warmer, richer green than you used in the background. A small round brush works well here for suggesting tree shapes without overworking them.
For trees in the mid-ground, use a fan brush or the edge of a flat brush with a tapping motion to create leaf texture without painting individual leaves. This is much faster and looks more natural.
Step 5: Paint the Foreground
The foreground should be your most detailed, most saturated area. Colors are richest here and edges are sharpest. This contrast is what gives the painting depth.
For a simple grassy foreground:
- Base coat of warm green or yellow-green
- While still wet, add darker green strokes at the base for shadow
- Add light yellow-green or white-green highlights at the tips for sunlit grass
- Use short upward strokes that follow the direction the grass grows
Step 6: Add Finishing Details
Once the main areas are in place, stand back and assess. At this stage:
- Add any specific details: a fence, a path, reflections in water, cloud shapes in the sky
- Strengthen any areas that look washed out
- Soften any transitions that look too harsh
- Add a focal point if it doesn't feel like the eye has anywhere to land (a tree, a building, a figure in the distance)

Common First-Time Landscape Mistakes (and Fixes)
| Mistake | Fix |
|---|---|
| Everything looks flat (no depth) | Increase contrast between foreground and background. Background should be lighter and cooler. |
| Trees look like lollipops | Use irregular, broken edges. No tree has a perfectly round canopy. |
| Muddy greens | Mix greens from blue and yellow rather than using straight tube green. This gives more control. |
| Horizon line is too rigid | Let trees and elements break across the horizon line. Nothing in nature is perfectly flat. |
| Painting looks overworked | Step back more often. Less brushwork is usually better once the basic shapes are in. |
What's Next?
Once you've done a few landscape studies, try varying the light source (morning vs evening light), the season (green summer vs orange autumn), or the weather (overcast vs sunny). Each change teaches you something new about observing and translating what you see.
For a full foundation in acrylic painting, our guide covers everything from material selection to technique: Complete Guide to Acrylic Painting for Beginners.
And if you need to gear up, the ARTIOS Painting Kits include everything you need to get started in one place.